A camera can be expensive, high-resolution, and packed with smart features – and still miss the one thing you needed it to catch. Most surveillance problems do not start with the camera itself. They start with placement. If you want the best outdoor camera placement, you need to think less about where a camera looks good and more about what it can actually see, record, and identify under real conditions.
That matters whether you are protecting a front porch, a side gate, a loading area, or a medical office parking lot. Good placement gives you usable footage. Bad placement gives you a vague shape in the dark and a lot of frustration after the fact.
What the best outdoor camera placement is really trying to solve
The goal is not just broad visibility. It is reliable visibility at the moments that matter. A camera mounted too high may capture a wide scene but fail to identify a face. A camera aimed too low may get a great close-up of one spot while leaving the approach path uncovered.
For most homes and businesses, the real priorities are straightforward. You want to see who is approaching, where they came from, what they did, and where they went next. That means placement should follow movement patterns, not just property lines.
A good outdoor layout usually watches entry points first, then transition areas, then wider perimeter zones. Front doors, driveway approaches, side yards, gates, rear patios, service entrances, and parking areas tend to matter more than open stretches of wall. If someone can enter, linger, hide, or leave through that area, it deserves attention.
Best outdoor camera placement around a home
For residential properties, the front door is usually the first priority, but relying on a doorbell camera alone leaves gaps. A doorbell camera is useful for package activity and face-level footage at the porch, yet it often misses the wider approach, nearby vehicles, or side movement. A second camera covering the walkway, driveway, or front yard usually fills that gap.
Driveways are another high-value spot. You want a viewing angle that captures both vehicle activity and people moving around those vehicles. A camera placed over the garage looking outward can work well, but only if it is not so high that license plates become unreadable or faces become top-of-head shots.
Side yards and gates are commonly overlooked. They are also common access routes because they are less visible from the street. A compact, weather-rated camera covering the gate and the path beyond it is often more valuable than adding another camera to the front elevation.
Backyards depend on how the space is used. If the yard opens to an alley, shared access lane, or wash, perimeter coverage matters. If the main concern is the back door, pool equipment, patio, or detached garage, the camera should prioritize those points instead of trying to capture the entire yard in one wide shot.
Best outdoor camera placement for businesses and commercial properties
Commercial properties need a different mindset. The issue is usually not just intrusion. It is liability, access management, after-hours activity, deliveries, employee entrances, and parking lot incidents. Wider coverage matters, but evidence quality matters more.
Main entrances should capture arrivals and departures at a usable angle. Back doors and service entries deserve equal attention because they often see less foot traffic and less passive observation. Dumpster enclosures, loading zones, and side access corridors also create blind spots where problems start.
Parking lots are where placement mistakes become expensive. One camera at the building corner may show general movement, but it rarely captures enough detail across the entire lot. It is often better to use overlapping views – one wider camera for context and another aimed at choke points like entry lanes, pedestrian paths, or pay stations.
If your property has gates, roll-up doors, or access control points, camera placement should support those systems rather than operate separately. A camera should show not just the gate itself, but the area immediately before and after it. That gives you a complete sequence instead of a single frame with no context.
Height matters more than most people think
A common mistake is mounting cameras too high because it feels safer. Yes, higher placement can protect the hardware from tampering. The trade-off is image usefulness. When a camera is mounted far above the action, identification gets harder, especially with hats, hoodies, and poor lighting.
For many outdoor applications, a mounting height around 8 to 10 feet gives a good balance between protection and detail. Some perimeter or parking lot cameras may need to go higher, but that should be driven by the coverage plan, not guesswork. If the camera is meant to identify a person, not just detect movement, it cannot be an afterthought.
This is also where ladder-free assumptions cause trouble. A camera may technically function where it is mounted, but if routine cleaning, adjustment, or service becomes difficult, performance slips over time. Dust, webs, and desert wind can quietly reduce image quality, especially in areas like Las Vegas where weather and debris are not minor factors.
Avoiding glare, washout, and nighttime problems
The best outdoor camera placement during the day can become the worst at night. Porch lights, landscape lighting, headlights, reflective stucco, and sunrise or sunset angles can all interfere with image quality.
A camera should not be aimed directly into a bright light source if there is another option. Even with decent wide dynamic range, strong backlighting can turn a person into a silhouette. You want light to support the camera, not fight it. That may mean shifting the angle a few feet, changing the mounting side of an entry, or narrowing the field of view.
Night vision also has limits. Infrared reflection from nearby walls, eaves, columns, or bug-covered housings can create a hazy image. This is one reason camera placement under deep overhangs needs careful adjustment. Covered mounting helps protect the hardware, but cramped positioning can create its own visibility problems.
Cover choke points, not just open space
When people think about surveillance, they often chase the widest possible view. Wider is not always better. A broad shot of a yard or parking lot may tell you that something happened. It may not tell you who did it.
The smarter approach is to cover choke points. These are the areas people naturally pass through, such as gates, walkways, doors, driveway entries, stair access, and narrow corridors between structures. A camera pointed at a choke point gives you a better chance of capturing useful detail because the subject moves through a known, controlled area.
That does not mean wide views are useless. They provide context. The best systems use a mix of overview cameras and detail cameras, with each one assigned a job. One tracks the scene. Another confirms identity.
One camera per problem is better than one camera for everything
Trying to make a single camera do too much is where many installations fall short. A front-corner camera cannot perfectly cover the porch, driveway, street, side yard, and garage at the same time. It will always do some of those jobs poorly.
Instead, define the problem first. Are you trying to identify visitors, monitor package deliveries, watch vehicles, deter trespassing, or document after-hours activity? Once that is clear, placement decisions get easier.
For example, if package theft is the concern, the ideal position is usually not the same as the ideal angle for driveway monitoring. If employee access is the issue, the right placement may prioritize credential use and doorway interaction instead of the larger lot.
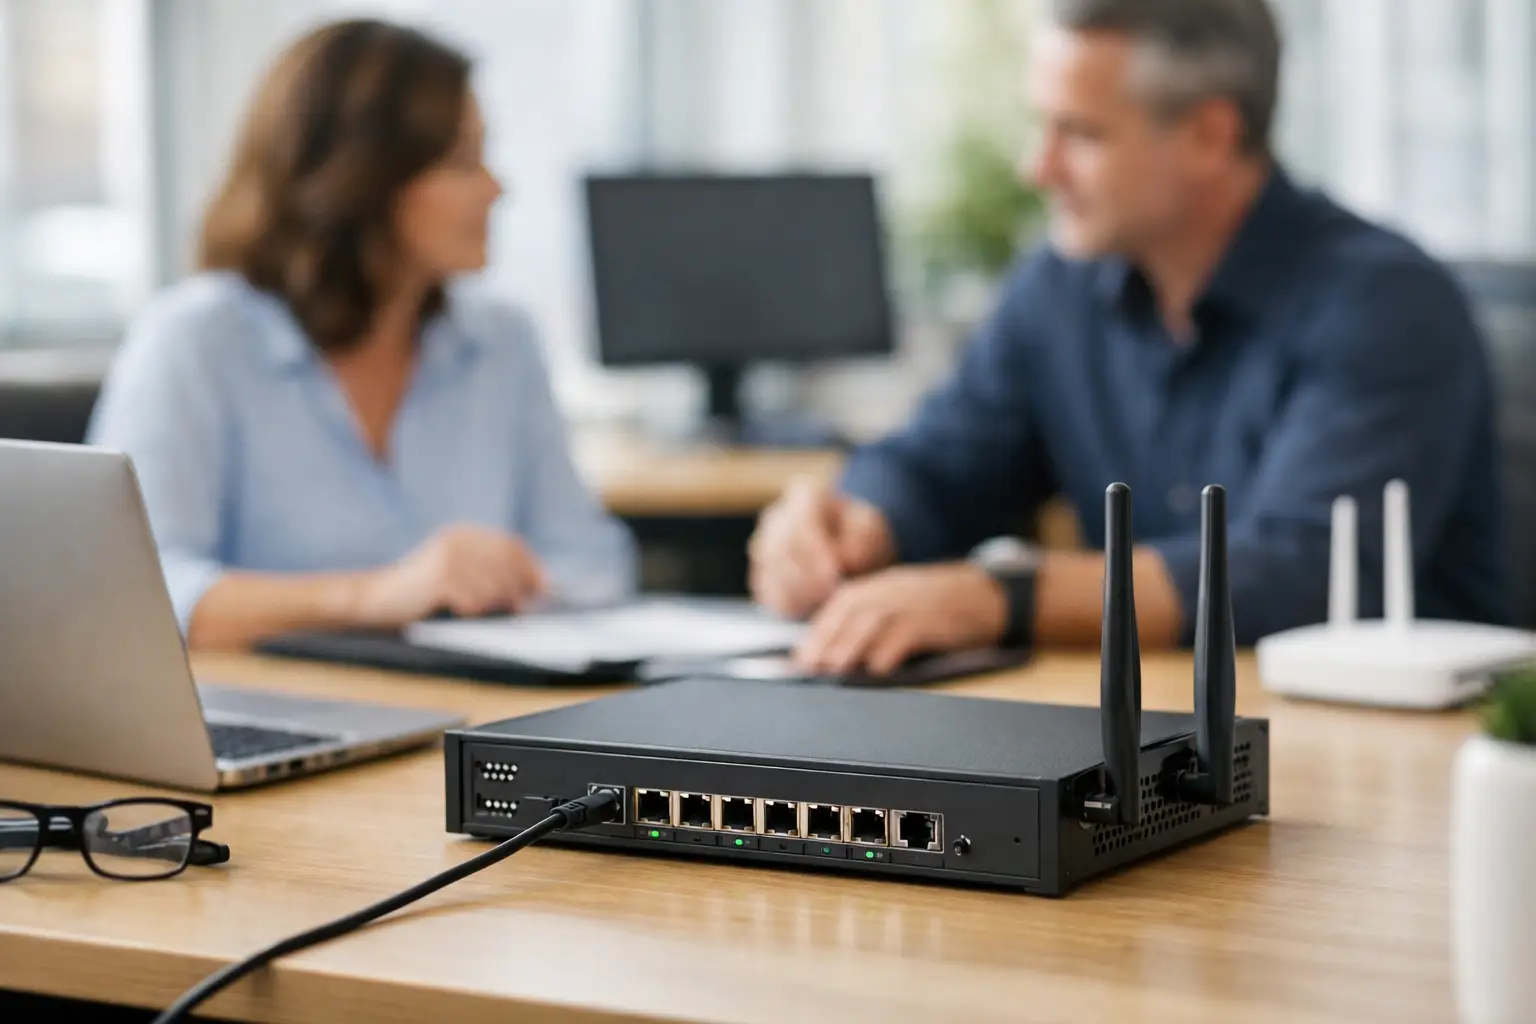
Wiring, Wi-Fi, and weather still affect placement
In real projects, placement is not just about camera angles. It also depends on power, network reliability, exposure, and clean installation paths. A perfect viewing position is not perfect if the Wi-Fi drops every afternoon or the cable route leaves hardware exposed.
Hardwired cameras usually allow more reliable placement because they are not tied to signal strength the way battery or wireless units are. They also support more consistent recording. That said, every property is different. Some locations make hardwired installation easy. Others require a more strategic mix of network planning, low-voltage work, and protective mounting.
This is where an experienced installer earns their keep. Placement should not be decided in isolation from the rest of the system. Camera position, recording method, lighting conditions, cable path, and app access all need to work together. Las Vegas Tech Pros handles this kind of planning every day because real coverage depends on more than simply getting a camera onto a wall.
When DIY placement works – and when it usually does not
If you are installing one or two cameras at a small home, basic placement can be manageable with careful testing. Walk the property, check views at different times of day, and review clips at night before finalizing anything. Do not judge the image only from a live app preview.
But once the property has multiple structures, shared access areas, commercial parking, HOA concerns, or integration with access control and networking, placement becomes more technical. Small mistakes compound fast. You end up with blind spots between cameras, poor nighttime identification, repeated false alerts, or footage that is too wide to be useful.
The best outdoor camera placement is never just about mounting height or corner coverage. It is about matching each camera to a real security objective, then making sure the environment supports that goal day and night. If a camera cannot clearly show the event you care about most, it is not in the right place – no matter how good the spec sheet looks.
Before you add another camera, stand where a person, vehicle, or visitor would actually move. Follow the path. Look for the decision points, entry points, and escape routes. That is where the right footage starts.