A meeting can have a polished display, a fast internet connection, and a full agenda, yet still fail because remote participants cannot understand the room. Voices fade when someone turns from the table, HVAC noise fills the call, and every question begins with “Can you repeat that?” The best conference room audio upgrades solve those daily frustrations at the source, making conversations clearer for people in the room and people joining remotely.
For Las Vegas offices, where glass walls, open layouts, and hard surfaces are common, audio needs more attention than most teams expect. A strong conference room system is not about adding the most equipment. It is about matching microphones, speakers, room acoustics, and control systems to the way your team actually meets.
Start With the Room, Not the Product
Conference room audio is a system. Replacing one weak component can help, but it will not fix every issue if the rest of the room is working against it. A high-end microphone will still capture echoes in a glass-heavy room. Better speakers will not help remote attendees if the microphone is too far from the people speaking.
Before choosing upgrades, look at the room size, ceiling height, table shape, number of seats, and how often participants join by Teams, Zoom, or another platform. Also consider whether people regularly move around, present at a whiteboard, or speak from the far end of a long table. These details determine whether a simple soundbar is enough or whether the room needs distributed microphones and speakers.
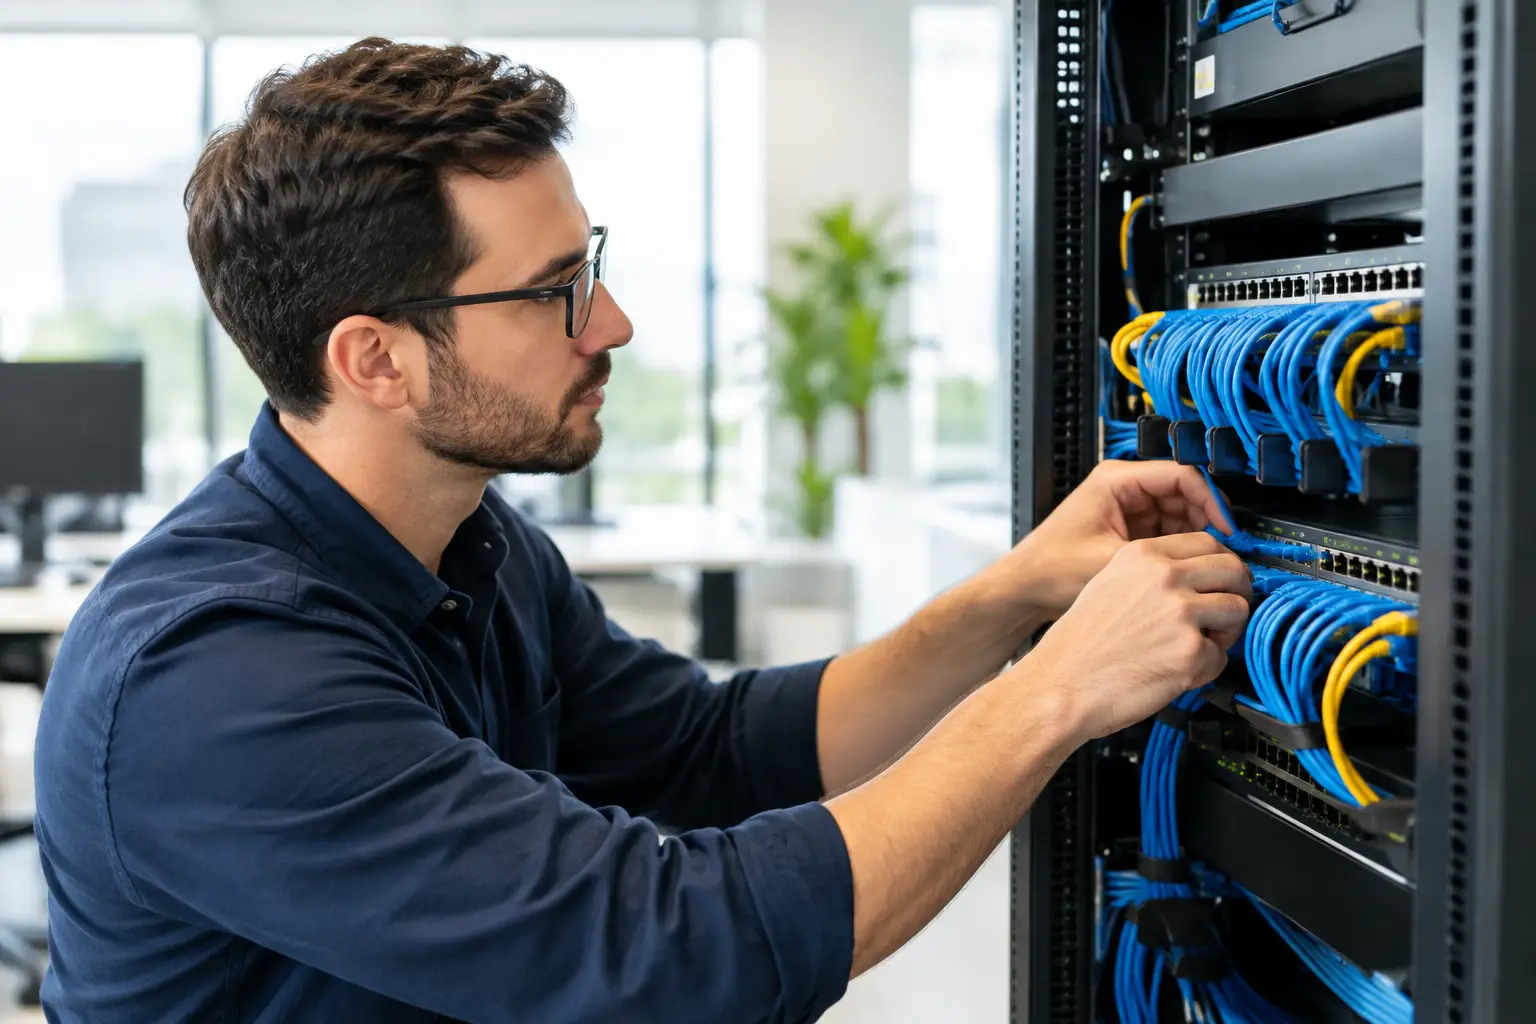
A hands-on site assessment is especially useful when audio problems have been ongoing. It identifies practical issues such as noisy air vents, poor cable routing, inadequate network capacity for conferencing devices, and speaker placement that causes feedback.
1. Add a Purpose-Built Video Bar for Small Rooms
For huddle rooms and small conference spaces, a video bar is often one of the highest-value upgrades available. These all-in-one units combine a camera, microphones, speakers, and audio processing in one device. They reduce desktop clutter and give smaller teams a more consistent meeting experience than laptop microphones and portable speakers.
The best fit is typically a room with four to eight seats where everyone sits relatively close to the display. Look for features such as beamforming microphones, automatic framing, echo cancellation, and compatibility with your preferred meeting platform. A video bar can be installed beneath or above a display, creating a clean setup that users can start without technical assistance.
There is a limit, though. A video bar is not a universal answer for a long boardroom table or a room with high ceilings and frequent presenters. In those spaces, its microphone pickup range can become the weak point.
2. Upgrade to Tabletop or Ceiling Microphones
Microphone placement has more impact on call quality than many office managers realize. If remote attendees complain that in-room voices sound distant, muffled, or inconsistent, the microphone is usually the first place to investigate.
Tabletop microphones work well in rooms where people normally remain seated. They bring pickup closer to each participant and can be a sensible upgrade for an existing AV system. They do require thoughtful positioning, however. Cables, laptops, and paper shuffling can create unwanted noise, and a large table may need more than one microphone to cover every seat evenly.
Ceiling microphone arrays are often a cleaner option for modern conference rooms. They use multiple microphone elements and digital beamforming to focus on active speakers while reducing surrounding noise. Because they are mounted overhead, they keep the table clear and support more natural movement around the room. They are particularly effective in executive boardrooms, training rooms, medical offices, and spaces where presentation layouts change regularly.
Professional installation matters here. Microphone coverage, cable paths, ceiling materials, and integration with the room’s processor all affect performance. A device that is technically installed but poorly aimed or programmed will not deliver the intended result.
3. Use Dedicated Speakers Instead of TV Audio
TV speakers were built for casual viewing from the front of a room, not for two-way business conversations. They can make remote voices sound thin, uneven, or difficult to hear from the far end of the table. Raising the volume often makes the problem worse by increasing echo and fatigue.
Dedicated conference speakers provide more even coverage and clearer speech. Depending on the room, that may mean a quality soundbar, wall-mounted speakers, ceiling speakers, or a distributed speaker system. The goal is not to make the room loud. It is to make every remote speaker understandable without forcing people to strain.
For larger rooms, distributed speakers are usually better than one powerful speaker at the display. Spreading sound across the room allows lower, more comfortable volume levels and reduces the chance that people nearest the screen get overwhelmed while others still cannot hear.
4. Add Digital Signal Processing for Echo and Noise Control
Digital signal processing, often called DSP, is the behind-the-scenes upgrade that turns separate audio components into a reliable meeting system. A properly configured DSP can handle acoustic echo cancellation, automatic gain control, noise reduction, microphone mixing, and speaker tuning.
This matters because conference rooms are unpredictable. Someone may tap on a keyboard while another person speaks. A presenter may move closer to a display. The HVAC system may cycle on halfway through a client call. DSP helps the room adapt without someone constantly changing settings.
Not every small room needs a separate DSP. Many all-in-one bars include enough processing for a straightforward huddle space. But once a room has multiple microphones, ceiling speakers, wireless presentation equipment, or partitions that change the room layout, dedicated processing becomes a smart investment.
5. Improve the Room Acoustics Before Chasing More Hardware
Sometimes the most effective audio upgrade is not an electronic device. It is acoustic treatment. Hard ceilings, tile floors, glass walls, and large uncovered tables reflect sound, creating reverberation that microphones pick up and remote attendees hear as echo or muddiness.
Acoustic panels, ceiling treatments, wall coverings, rugs, and even properly selected window treatments can reduce reflected sound. The right approach depends on the design of the room and the level of privacy needed. An office does not need to look like a recording studio to sound significantly better.
This is also where trade-offs matter. Decorative changes alone may improve comfort in the room but will not correct poor microphone coverage. Likewise, adding new microphones without addressing excessive reverberation can leave calls sounding only marginally better. The best results usually come from balancing both.
6. Make Wireless Microphones Available for Presenters
A room designed only for seated conversations can struggle during training, sales presentations, and all-hands meetings. When a presenter walks to a whiteboard or stands by a display, their voice may fall outside the pickup zone of table or ceiling microphones.
Wireless handheld, lapel, or headset microphones give presenters consistent voice pickup and help remote attendees follow along. A lapel microphone is often the most discreet choice for formal presentations, while a handheld microphone can work well for Q&A sessions and training events.
Wireless systems need careful frequency coordination and reliable installation. Cheap consumer wireless gear can introduce dropouts, interference, and extra setup work. In a commercial environment, dependable equipment and a clean charging routine make the difference between a useful tool and another device that stays in a drawer.
7. Simplify Controls So the System Gets Used Correctly
Even the best audio system fails if users do not know how to start a meeting, select the correct input, or unmute the right microphone. A clean, simple control experience is an audio upgrade because it prevents avoidable errors.
For some rooms, that means a dedicated touch panel with a few clear choices: start meeting, join call, share content, volume, and mute. For others, a preconfigured room computer or one-touch meeting controller is enough. The right solution depends on how standardized your meeting platforms are and whether the room is shared by multiple teams.
Avoid building a system that requires a different process every time. Standardizing room controls across the office cuts support requests, speeds up meetings, and makes staff more confident using the space.
Plan for Installation, Cabling, and Ongoing Support
Conference room audio equipment is only as dependable as the infrastructure behind it. Concealed low-voltage cabling, stable Wi-Fi or wired network connections, appropriate power, and logical equipment placement help prevent the problems that interrupt meetings later.
Las Vegas Tech Pros can assess the full environment, from network performance and structured cabling to AV installation and ongoing IT support. That single-provider approach is useful when a meeting-room issue may involve more than audio alone, such as weak Wi-Fi, a display connection problem, or a conferencing device that needs network access.
The right upgrade should make meetings feel uneventful in the best way: people walk in, connect quickly, hear each other clearly, and focus on the decision in front of them instead of the technology on the table.